This review has been kindly completed by Tracy Balsden from the Poppy Patch Posse. You can find Tracy on Instagram @daydream_sewing
I was very excited when I collected my post recently, as a package from Poppy Patch was waiting for me, it contained my latest project for review, I couldn’t wait to get started and share it with you all.
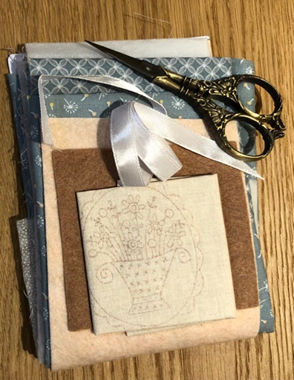
It’s a gorgeous little Cornflower Needle Roll by Hatched and Patched, you can buy this as a kit from Poppy Patch for what I feel is a very reasonable price of only £14.50 or if you’d sooner you can buy the pattern only for £7.25 and use your own fabrics.
The kit included all the fabrics and felt (but no embroidery floss) a added bonus is that the panel is pre printed so no need for transferring any patterns.
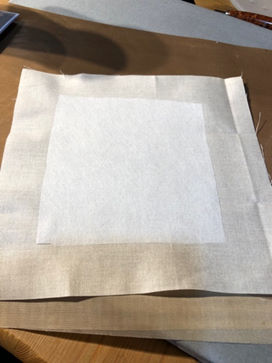
I started by ironing all the fabrics and cutting them to the sizes as per the instructions, I then ironed a small piece of interfacing to the back of the pre printed panel ready to begin stitching, I always like to use some kind of interfacing when embroidering as it helps stop any stray threads from being seen on the front once finished.
Now the fun bit, to choose my threads…. As I said above these don’t come in the kit.
I chose to used a mix of brands from my stash.
Cottage Garden variegated threads:- Pantouffle , Brodeuse, DMC:- 775,932,3855 and Anchor:- 9, 895,280
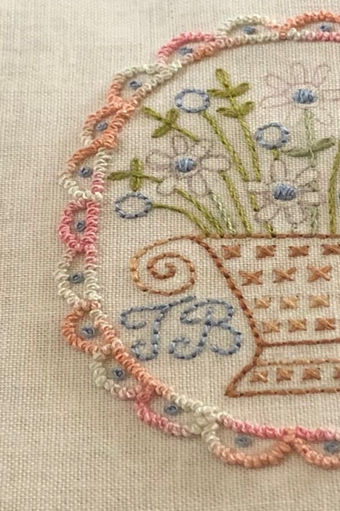
The pattern shows all the embroidery stitches needed to complete this little stitchery and there is even illustrations to help if your new to embroidery, I did change a few stitches along the way on mine. I replaced the back stitch with colonel knots on the outer boarder as I love using these as when stitched tightly together they give a 3D lace effect. I also used satin stitch to fill in the flower petals. Hatched and Patched suggest adding your initials and date to the embroidery which I did. (I think it’s always lovely to try and add your name and date to any projects your working on).
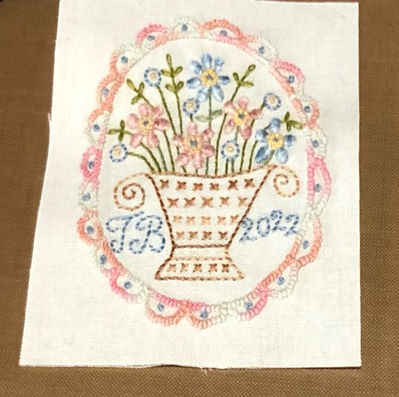
I found the instructions for this kit very easy to follow and found I would rather machined the needle roll pieces as per instructions and I cut the corners as instructed before turning in the correct way.
Once the needle case was turned I gave it a press and used the Bernina 10D foot, moving the needle to the left to stitch close to the edge giving a clean crisp look (this wasn’t in the instructions).


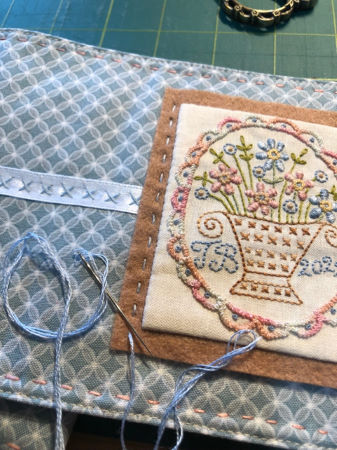
Once the embroidery was finished it was cut to size and needle turned onto the brown felt.
Next I placed the ribbon for the tie across the center of the roll this was secured in place with cross stitches; I used two strands of floss for this.

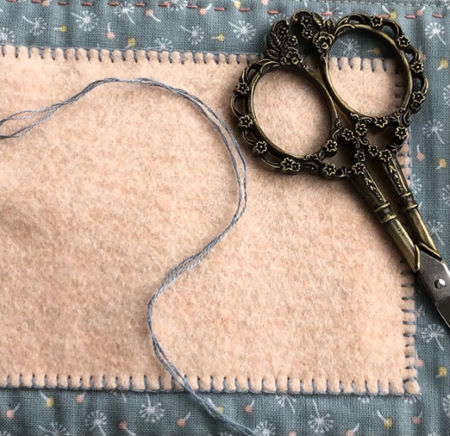
A running stitch was then used to secure the embroidery onto the sewing roll. I also used a running stitch around the outer edge of the roll. The felt to hold my needles was then cut to size and hand blanket stitched in place.
The only thing left now was to roll, tie and enjoy ?
The finished size is approx 3 ¾”x 5” when folded.
This was such an enjoyable little project and if you need embroidery threads to complete this project give Poppy Patch a ring I’m sure Sam or Mary would be only too pleased to help and advise you on colours to match the kit as they have loads.
Happy Stitching, until next time Tracy xxx




That’s such a sweet project!
Gorgeous project and very well made.
fantastic project and beautiful presentation. It’s so clear to understand with easy laid out sections. wish all pattern where shown this way.
It definitely would be for me. As im now disabled with cronicpain and Fibromyalgia. I sadly get so confused trying to comprehend some patterns.
that they remain unused.
Sadly , it would be a lot of work to do all your patterns. However I could wish!😇
Hello Julie
I am so pleased they were helpful ❤️
Thank you for the lovely review.