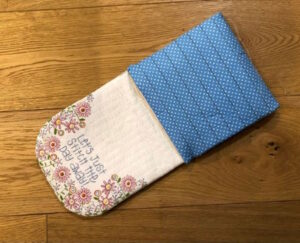
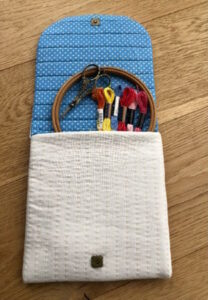
Poppy Patch have a fantastic selection of beautiful patterns from talented worldwide designers and my (Tracy Balsdon) Poppy Patch Posse project this time is called ‘Stitcher’s Keeper’. It is designed by from Leanne Beasley, aka Leannes House. Poppy Patch have done a fantastic job putting all the necessary threads and fabrics together for this kit, the only thing it doesn’t include is the wadding. You can find Tracy on Instagram @daydream_sewing
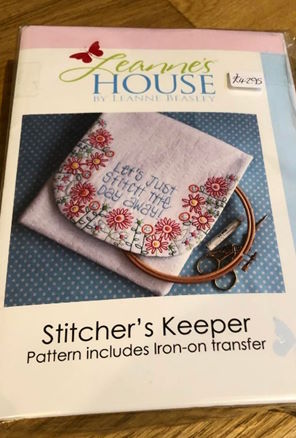
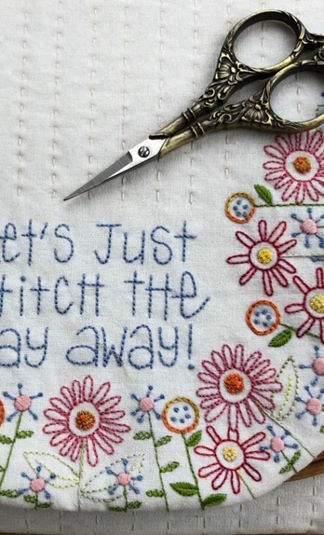
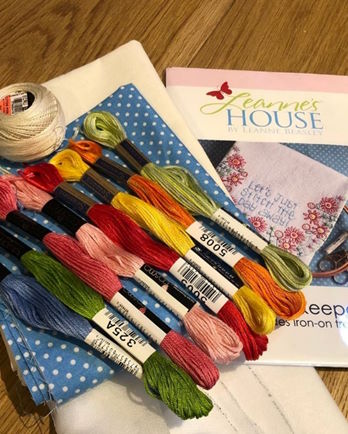
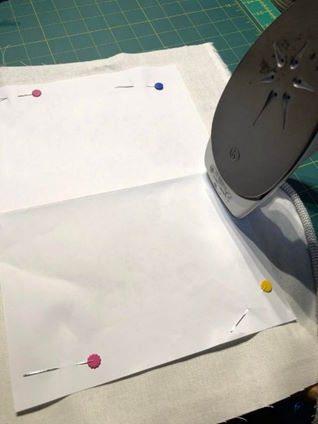
On opening the kit the first thing I noticed was the gorgeous Cosmo threads (I love working with Cosmo threads). The threads that were included in the kit are different to the ones that are stated on the pattern, so after reading all of the instructions the first thing I did was to rewrite the coordinating colour numbers onto the pattern so that I knew exactly which threads were going to go where once I started stitching. I ironed the stabiliser on the back of the linen, the pattern gives you the choice of tracing the pattern onto the linen with a light box or using the iron on transfer which is included in the kit, I chose the iron on transfer. I always pin my transfers onto the fabric that I am ironing as it helps stop any pattern movement. With a hot iron, I ironed the transfer onto the linen, try not to slide the iron from side to side whilst ironing as this can move the pattern, just lift and press. I find pressing on a wool mat instead of my ironing board helps.
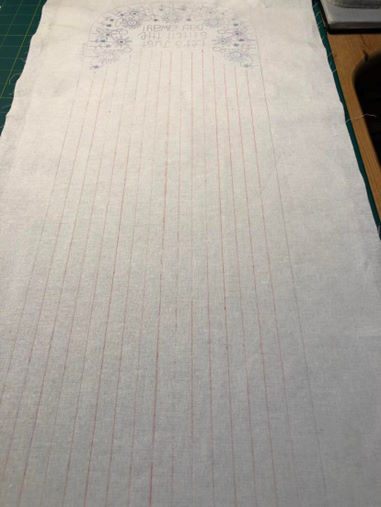
After I had ironed the pattern onto my fabric, I drew the cutting lines as indicated on the pattern, I used pencil for this. I then used a frixion pen to draw the quilting lines for later. These lines will iron off once the stitching has been completed, you do however have to be a bit careful when using these pens as sometimes they can come back to bite you, so to speak but on this occasion I think the use of them will be fine.
Now for the fun bit…
Stitching: –
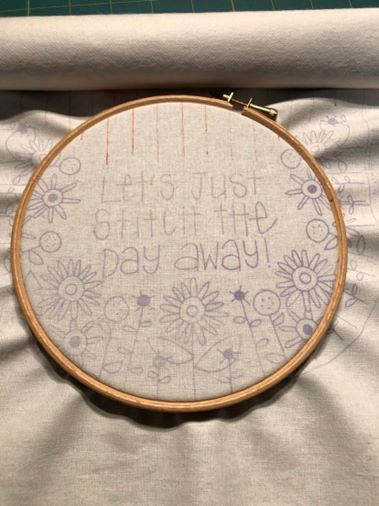
The instructions say use three strands of floss for the lettering and two strands for everything else. I started in the centre with the lettering and then embroidered the flowers. I used a few different stitches to those that were stated in the pattern. I used Celtic knots for some of the flower centres, stem stitch on some of the flower stems and fish bone and herringbone stitch for some of the leaves.
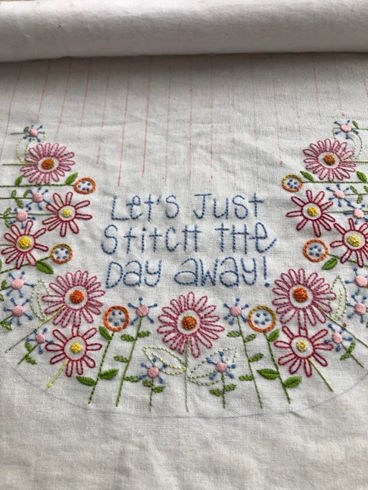
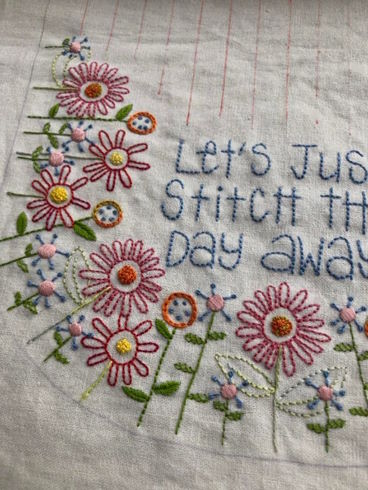
After I had completed the embroidery, I used the cream pearl thread that was provided and quilted along the red line, which I drew with the frixion pen earlier.
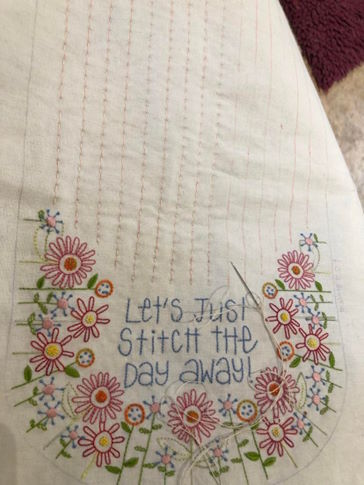
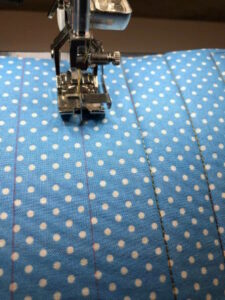
I then cut the panel out on the cut line that I had drawn in pencil earlier. Next, I placed the lining onto fusible foam wadding and ironed in place. I then drew around the embroidered panel and quilted lines across at one-inch intervals.
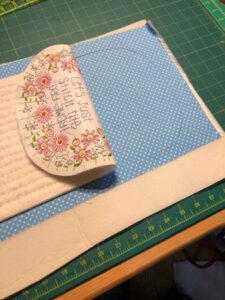
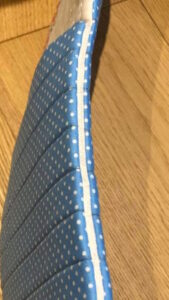
The two panels were then placed right sides together and I stitched around the outside edge using a ¼” seam, leaving a gap for turning out. Once sewn I snipped the corners and turned the right way out. To form the pocket, I folded the square edge up 8” and hand stitched the sides using a glove stich thus forming side seams. I then turned the pocket out, flipped the top over and attached a magnet fastening.
This was such a lovely little make and I would say, ideal for beginners to try their hand at embroidery/quilting. It is just the right size to store your embroidery hoop and scissors in (finished size is approximately 7.5” x 8.5”). Hope you love Leanne’s Stitcher’s Keeper as much as I do.
Love Tracy xx


