

£75.00
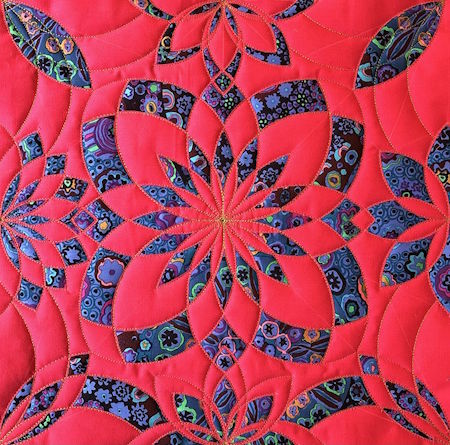
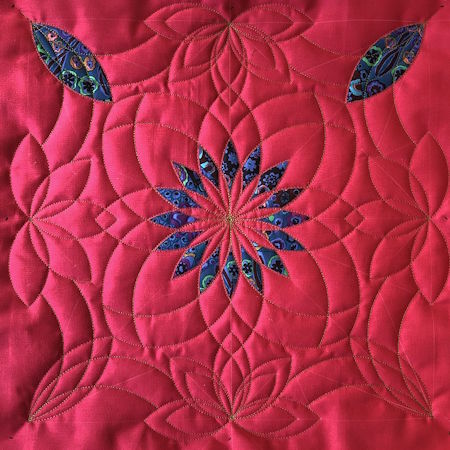
Saturday 21st August – 10am – 4pm – £75 – Petal Power showcases just how easy, versatile and effective simple curves can be in quilting designs. All of the petals are stitched using curves from the Westalee Sampler Set. The 6” Spiral, 4” Arc and 3” Clamshell.
You will be mentored through stitching the intricate design before moving on to the delights of TempLee Quilting; where your piece becomes truly unique as you choose which areas to cut away. Angie will demonstrate how best to achieve this stunning finish and share valuable hints and tips.
*TempLee Quilting is a Westalee term for a reverse appliqué technique achieved whilst quilting.
Your finished piece (approx 14”-18”) can afterwards be made in to a cushion, wall hanging, table mat, front of a bag or anything you wish.
Petal Power printed pattern included but you do need the Westalee Sampler Set which has the above named shapes and sizes for marking up and a Patchwork ruler (approx 6 x 24”) also for marking up.
Requirements:
A fabric sandwich approx 3 inches bigger than your finished design (Fat Quarter’s will suffice)
To TempLee Quilt* (reverse appliqué) you will need an extra piece of fabric underneath the top layer of your quilt sandwich (two top layers). Contrasting fabrics will showcase the design best – choose either:
*two contrasting plains
*or a plain and patterned fabric (plain on top)
If the finished project needs to durable, it is advisable to fuse Bondaweb (or similar) to the reverse side of your very top layer of fabric. The paper backing can be left intact whilst marking up. See layering up notes below.
If you choose to do a practice piece on the day of the workshop, you may not wish to waste bondaweb.
Layer and baste the secondary top fabric, wadding and backing as a normal quilt sandwich, leaving the top fabric loosely pinned/tacked on top.
Westalee Sampler Set
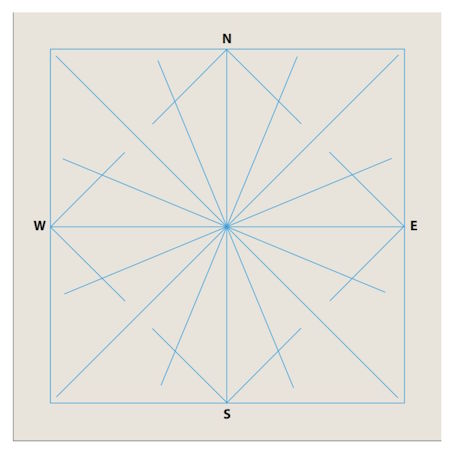
An 8 (or 16) point crosshair for marking up
*Patchwork ruler (approx 6 x 24”) for marking up
*A very sharp stitch unpicker/stitch ripper.
*Small sharp Embroidery scissors that are comfortable in the hand.
*Fabric marker, pen or pencil
*Thread – a contrast to the top layer works best.
Sewing machine and all your usual equipment for ruler work such as a ruler foot, extension table, spacing gauge, glider sheet, gloves etc.
Marking up:
A 14” square is recommended to begin, however, the design can be adapted from 14” up to 18”.
Marking up is also easier before sandwiching.
Mark:
A 14” square (or size of choice)
horizontal and vertical centre lines
A 16 point cross hair from the centre
A 45 degree guidelines at the North, East, South and West centre points.
SEE PHOTO FOR MARKING
Layering up
*Backing fabric (RSD – right side down)
*Wadding (baste to backing)
*Second top layer of fabric* (RSU – right side up), baste to wadding only
Top fabric (RSU), peel the backing paper from the bondaweb but DO NOT fuse or spray baste to the secondary top layer. A tack or pin in each corner will suffice.
Availability: 13 in stock
And receive a free 10% discount code
And receive a free 10% discount code (UK only)